All the web developers out there know the thrill of developing a website or a web-service. And their main objective is always to make their end users happy. But, they must first ensure that their websites/services are available to the end users.
This tutorial will help you to make your website/service available to your end users without purchasing a server-space on some remote servers, as your personal computer will act like a web server. Obviously, you will not get all the benefits of a real web server like processing power, etc. but it will be beneficial if you want to pre-launch your website/service before hitting the WWW. So, lets do it.
As the title says, you can set up a web server with a network router or without it. It becomes simpler when you want to do it without a network router as you will be the only user for your IP (Internet Protocol) address provided by your ISP (Internet Service Provider). Setting up the server with router needs a little extra effort as we need to tell router to which user it needs to route the packets as there could be more than one users and we want only a single machine to act like a server. Don’t worry if you didn’t get what I just said. You’ll learn as we go through the tutorial. So lets not waste more time.
Here’s the list of what you’ll need:
- An internet-enabled PC having WampServer installed in it. I’ve done it using WampServer, but you can also do it using its alternatives like XAMPP, LAMP, etc. What you will need to do is to change the configuration file (if the server is running on the ports other than 80 by default. Port 80 is for http). You can always use Google to help you change the configuration file. By the way, I’ve also tested it using Apache Tomcat.
- Network Router, if you want to establish the server using the router otherwise you won’t need it.
- 30 minutes (maximum). Includes time to go through this tutorial and setting up the server. 😀
I assume that you have installed WampServer on your PC by now. Now follow these steps:
Step 1: Go to the directory where you installed the wamp (for e.g. C:\wamp\). Now find a folder named ‘bin‘. Now follow this path: bin\apache\apache2.2.22\conf and open httpd.conf using a text editor like Notepad. Note that apache2.2.22 folder depends on the version of apache used by WampServer. If your WampServer is using a different version then you’d have a different folder name always starting with the prefix apache.
Step 2: Okay. Now find a line saying ‘Listen 80′. This instruction tells the server on which port it needs to wait for the request or it needs to give response. You may change it to any other port ranging from 0-65535 but it is recommended to leave it as it is as the default port for HTTP is 80. Now close the text editor.
Step 3: Go to C:\wamp\www\ which is the root folder. Create a new folder and name it as per your convenience. In this tutorial we’ll name it ‘My_Site‘. Copy necessary files of your website into this folder. You should be aware of the name of the file (either .html or .php) of your homepage. Suppose it is ‘myhome.php‘. This page would be displayed first when someone visits your site.
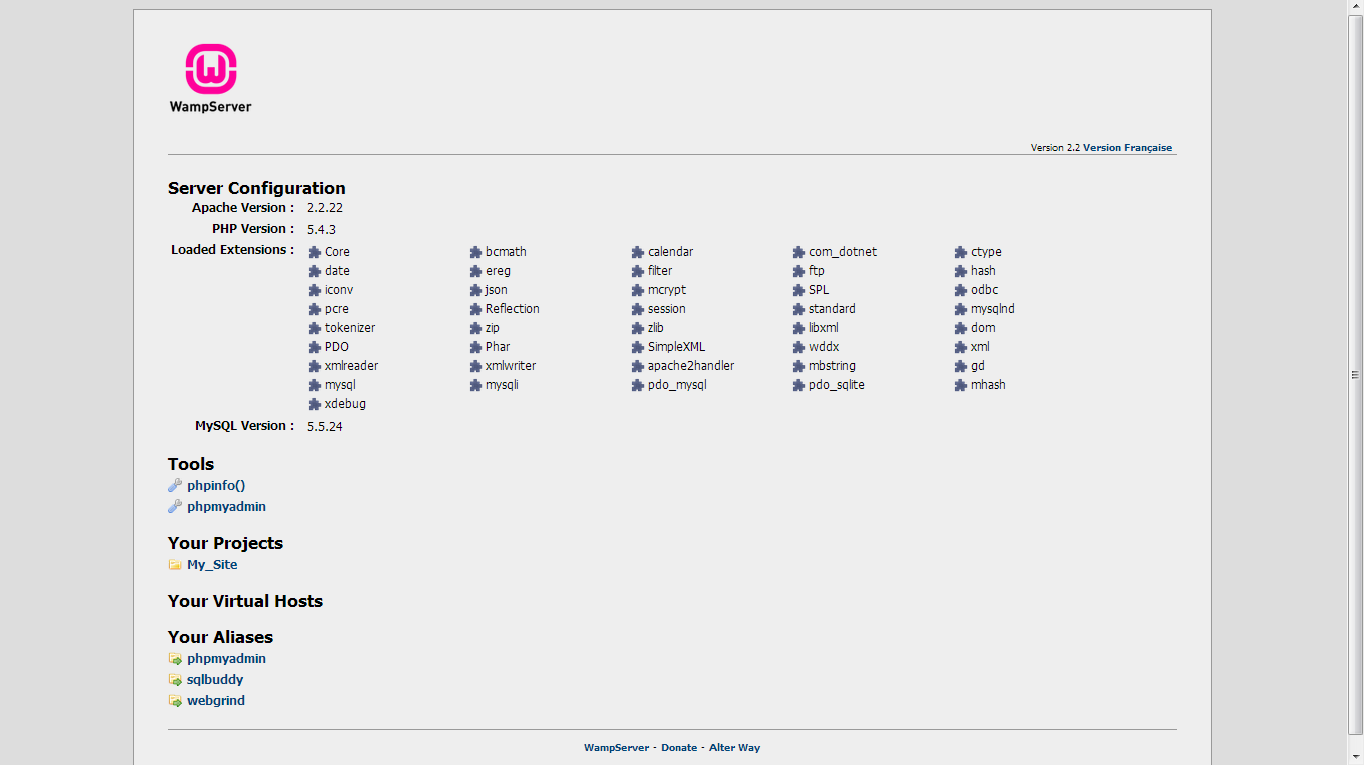
Step 4: Start WampServer. To start, open up the start menu and find it. Other way is to go to the folder where you installed wamp and double-click wampmanager.exe. You’ll find the WampServer icon on the Task Bar’s Notification Area which is at the bottom-right of the screen. Click on the icon. You’ll get a menu. Click on ‘Put Online‘. Ensure that the icon is green which indicates the server is up and running. Click the icon again and in the menu, click on ‘Localhost’. You’ll get the following page in your browser. You can notice the folder My_Site under Your Projects in the image.
Step 5: The above page is the home page or index page of wamp. We need to change it to the home page of our site. One way to do this is to change the root folder and name your home page as index.php. The other and better way is to redirect to your home page. This is better as you only need to change the parameter of a php command to the page you want to go after redirection. So, lets do it.
Go to the root folder which is C:\wamp\www in our case. Find index.php. Copy index.php and paste it in the same directory by any other name. Suppose the copied file is named original_index.php. We did this to create a backup for the original file so that if something goes wrong we can always rename original_index.php to index.php.
Step 6: Open index.php and delete all its content. Now write a php command: header(‘Location: \My_Site\myhome.php’); and save it. Close the editor. Now check if WampServer is online if not repeat Step 4. You’ll see myhome.php.

Note: For those who will not use a network router, this tutorial almost ends here. You must keep an important thing in mind that the port on which your server is listening must be 80! Your next step would be entering your IP address into the URL bar and voila! You rule! If you want to use a domain name instead, you can use dyndns. As your IP address would keep changing, the same IP won’t work all the time. dyndns will help you to bind your dynamic IP to a static domain name. And for those who are going to use a network router, the fun starts now!
Step 7: I assume that you have access to your router’s configuration page through your web browser. Lets assume it is accessed through IP 192.168.0.1. Type the username and password (If you don’t know then try typing ‘admin’ in both as it is common in most of the routers as factory defaults.) When I wrote this post, I was using a TP-LINK router with model number TL-WR740N which is I guess one of the most basic network routers TP-LINK has. So it won’t be a problem if you have other routers as they would offer same features. I will use the options offered by the TP-LINK’s configuration page throughout this tutorial.
Step 8: Okay. So now we have the configuration page. Find DHCP option and under it, find Address Reservation. This option would permanently bind the MAC Address of your PC to the IP address of your machine in the Local Network. Thus every time you join the Local Network, your machine would get the same IP address. This will help to tell the router that the requests made on the web page should be directed to your machine only and making your local IP address static will make it easy for the router. Suppose the router provided an IP 192.168.0.100 to our PC. If you want to know the local IP address of your PC then you can find it in DHCP Clients List under DHCP option. This option would give us the list of clients currently connected to the router.
Step 9: Now we shall tell the router on which port our web server is. Find an option called Virtual Servers under Forwarding. Click Add New. We will get a bunch of text fields. First is Service Port, this is the port on which the request is made. Provide 80 (it is for HTTP remember?) to it. Next is Internal Port, the port at which the server would listen to. Type 80 in it. Click Save. If you want your server to listen to a port other than 80 then change the command to ‘Listen <your port no>’ in Step 2 and thus change the Internal port to that number.
Step 10: Your wait is over now. Now start WampServer just like we did in Step 4 and type your External IP Address in to the URL bar. And voila! You rule! You can always look up to dyndns for providing a dynamic DNS service. I have a facility of logging in to dyndns from the router’s configuration page. Your router may have or may not have this facility, so it is recommended to check dyndns’ web site.
Final Note: Don’t worry if you can’t find the features we talked about on your router’s configuration page. They may be categorized in different manner. So it is advisable to check out every option on that page.
Thanks. You’re free to ask any queries regarding the things covered in this post. All the suggestions are welcome. Have fun!

4 Comments
Awesome my friend … It is just a speechless article.. and of course better than first one 🙂 100 likes 🙂
Thank you buddy. 🙂
Nice one .. Good going buddy ! …..
Thank you!